Set Up Mailgun SMTP for Smooth Delivery
Mailgun ensures reliable email delivery, so you can focus on growing your business instead of worrying about emails. Easily connect Mailgun to WordPress via API and start sending today!
INTEGRATE NOW FOR FREE
How to Set Up Pro Mail SMTP with Mailgun
Integrating Pro Mail SMTP with Mailgun is the perfect way to enhance your email delivery with one of the most reliable SMTP services available.
Mailgun’s robust email delivery capabilities ensure that your emails are effectively delivered to your recipients, improving your email marketing performance and reducing bounce rates.
This step-by-step guide will walk you through the process of integrating Mailgun with WordPress using Pro Mail SMTP, so you can take advantage of Mailgun’s powerful features. By following this guide, you’ll learn how to set up Pro Mail SMTP with Mailgun, configure your email settings, and ensure seamless email delivery for your business or website.
What is Mailgun?
Mailgun is a leading email service provider designed to handle large volumes of email traffic efficiently.
It features a secure API and offers a three-month free trial, making it an appealing choice for businesses aiming to improve their email delivery processes.
Although the initial setup for Mailgun may require more time compared to some other services, this effort results in a highly dependable email delivery system.
Key Features:
Cost: Mailgun offers a free plan with up to 100 emails/day, perfect for small projects or testing. As your needs grow, you can upgrade to paid plans with more features and higher sending limits.
From Email Requirements: while Mailgun can work with various From Email addresses, using a domain-specific address (e.g., pattie@example.com) is advisable to ensure the best deliverability.
Bottom Line: Mailgun is recognized as one of the most reliable options for email delivery, providing competitive pricing. However, setting it up requires access to DNS (Domain Name System) settings.
Step 1: Create a Mailgun Account
To begin the setup process for integrating Pro Mail SMTP with Mailgun, you’ll need to create a Mailgun account.
Creating a Mailgun Account
If you don’t already have an account with Mailgun, follow these steps to sign up:
- Visit the Mailgun website.
Go to Mailgun.com. - Sign up for a Mailgun account.
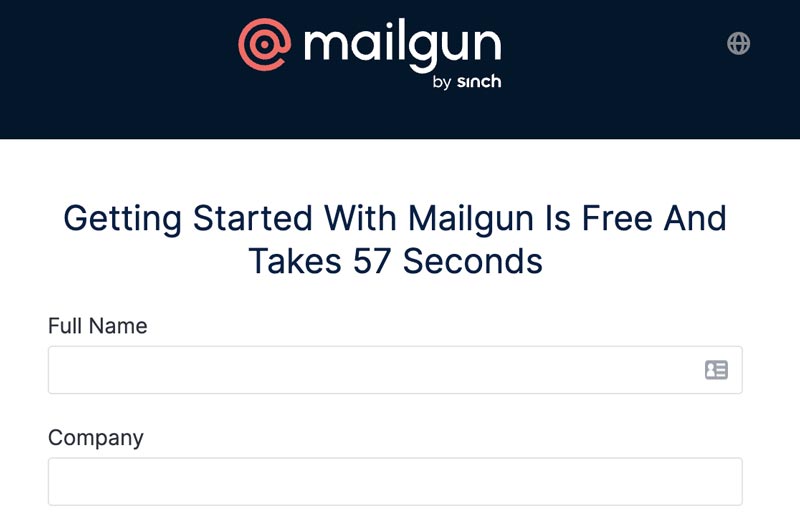
Click on the Start for free button prominently displayed on the homepage. - Complete the Signup Form.
Fill in the required fields, including your name, email address, and a secure password.
- Verify Your Email Address.
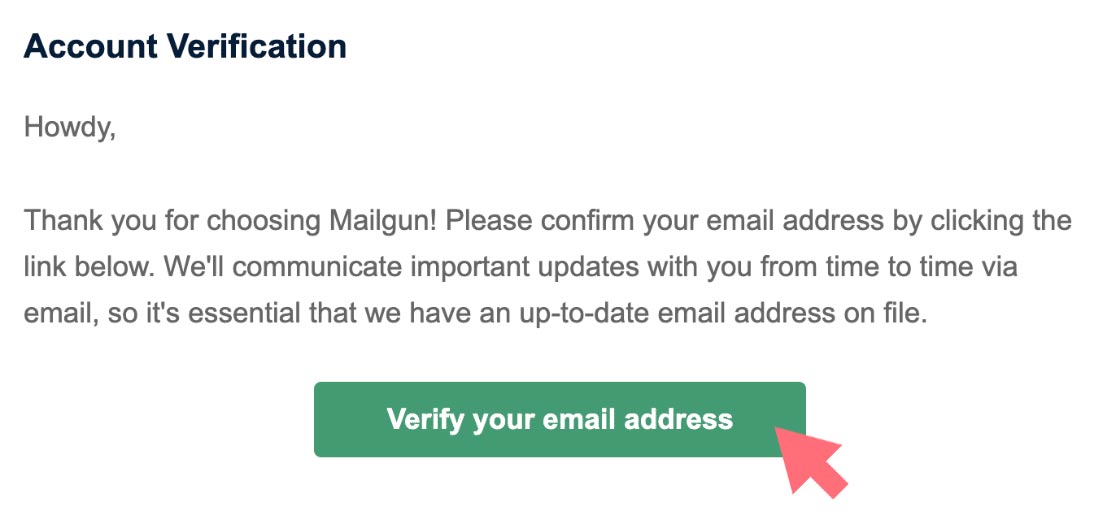
After completing the signup form, you will receive an email from Mailgun to verify your account. Open the email and click on the Verify your email address button to initiate the verification process.
- Mobile Number Verification.
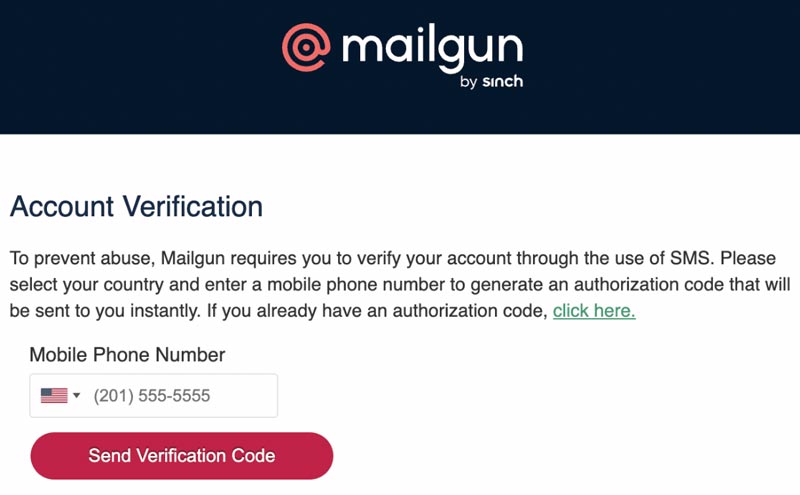
Following the email verification, you will be prompted to enter a mobile number. This number will be used to send you a text verification code. Enter your mobile number and click Send Verification Code.
- Complete the Verification Process.
Check your mobile device for the verification code sent by Mailgun. Enter the code in the provided field to complete the verification process.
Once you have successfully completed these steps, you should be automatically logged into your Mailgun account, ready to configure your email settings for integration with Pro Mail SMTP.
Step 2: Add Your Domain to Mailgun
Once you are logged into your Mailgun account, you will need to add your domain to enable email sending through their service. Follow these steps to set up your domain:
- Access the Domain Settings.
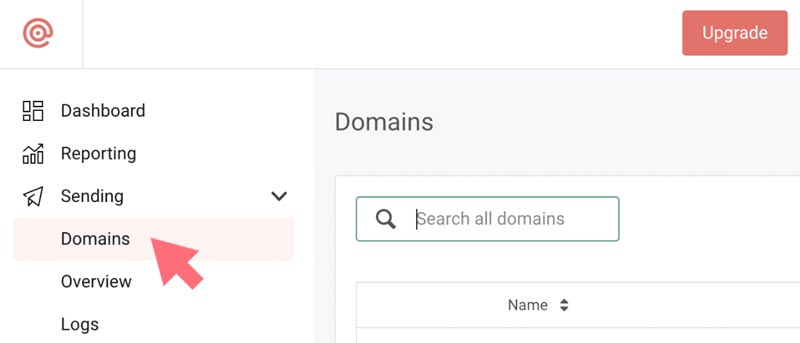
In your Mailgun dashboard, click on Sending and then select the Domains tab in the left sidebar.
- Add a New Domain.
Click on the Add New Domain button to begin the process of adding a new domain.

- Enter Your Domain Information.
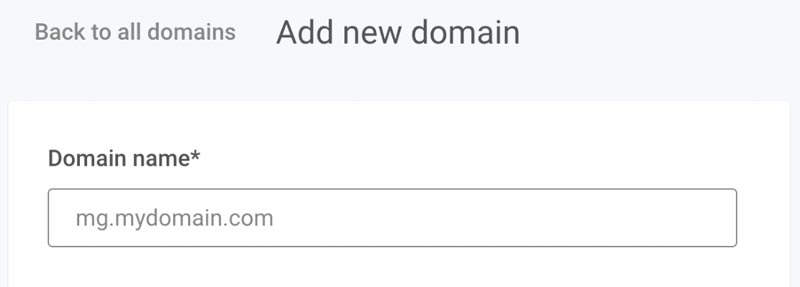
You will be prompted to enter your domain name (e.g., example.com).It is recommended to use a subdomain specifically for sending emails, such as mail.example.com or mg.example.com. This subdomain will be used exclusively for Mailgun, helping to keep your main domain organized.
- Select Your Domain Region.
Choose the appropriate region for your domain. You can select either US or EU based on where your server is located. If your website is hosted in the EU, select the EU option; otherwise, stick with the default US setting.

- Advanced Settings.
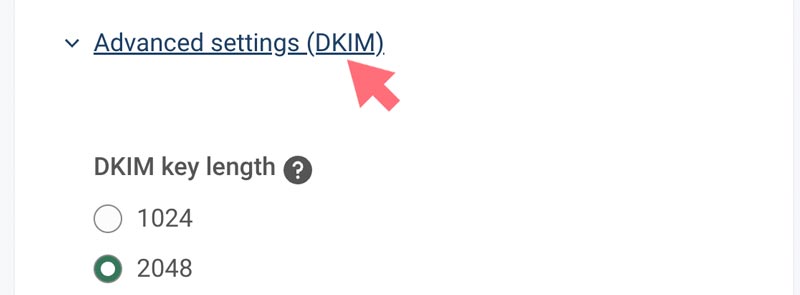
Click on the Advanced settings (DKIM) dropdown to access additional options. Here, you can select a DKIM key length. We recommend choosing the 2048 option for enhanced security.
- Finalize Domain Addition.
After entering all the necessary information, click the Add Domain button to complete the process. Keep this tab open, as you will need to return to it later.
Step 3: Verifying Your Domain
To ensure that your emails are delivered successfully, Mailgun requires you to verify your domain by adding specific DNS records. This step is crucial for maintaining high email deliverability standards.
- Open Your DNS Settings.
Log in to your domain registrar or hosting provider’s control panel to access your DNS settings. If you’re unsure how to find these settings, Mailgun provides helpful guides. - Add TXT Records.
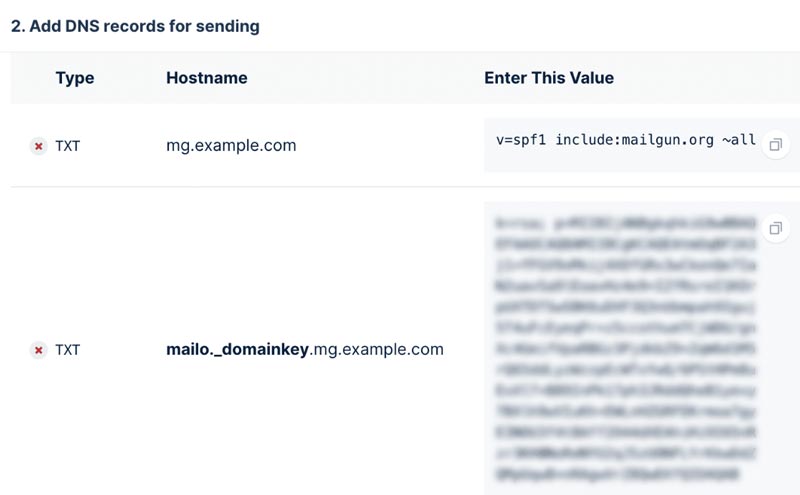
In your DNS settings, you will need to add two TXT records provided by Mailgun. Carefully copy the exact values from your Mailgun account, as accuracy is essential for successful verification.
- Hostname Adjustments.
If your domain is managed by a specific provider like GoDaddy, you may need to adjust the Hostname when entering the TXT records. For example, instead of entering mg.yourdomain.com, you would only enter mg. - Setting the TTL.
If your DNS settings allow, set the TTL (Time To Live) for the records to one day (or 86400 seconds). This setting determines how long the DNS records are cached. - Add MX Records.
In addition to the TXT records, you will also need to add MX records for your subdomain in the same manner. This is essential for Mailgun to verify your domain.

💡Ignore the CNAME Record
Mailgun may provide a CNAME record as well, but this is not necessary if you are only using Mailgun for sending emails. You can disregard this record.
Step 4: Checking Your Verification Status
After you have added the DNS records, Mailgun will need some time to verify that everything is set up correctly. This process can take anywhere from a few minutes to 24-48 hours, depending on DNS propagation.
- Verify DNS Settings.
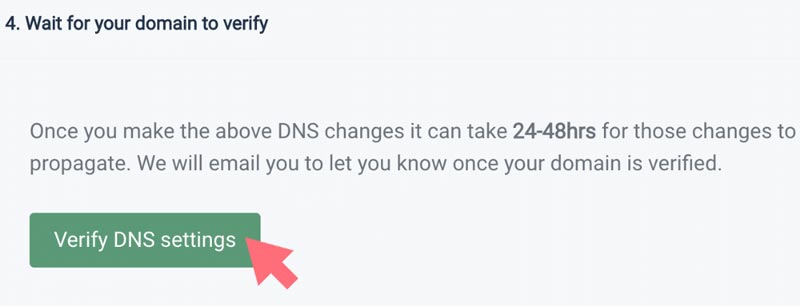
Back in your Mailgun dashboard, click the Verify DNS Settings button to check the status of your domain verification.
- Monitor the Status.
Once Mailgun confirms that your DNS changes are correct, you will see an active status next to your domain name.
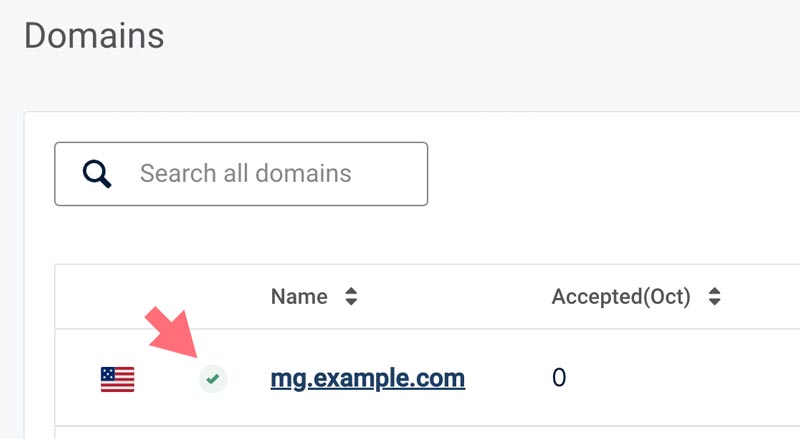
While you wait for the verification to complete, you can proceed to the next steps in your setup. Just be sure to keep this tab open for future reference.
Step 5: Configure Pro Mail SMTP
Now that you have added your domain to Mailgun, it’s time to configure Pro Mail SMTP to use Mailgun for sending emails.
Follow these steps to complete the setup.
Install the Pro Mail SMTP Plugin
- Access Your WordPress Dashboard.
Log in to your WordPress admin area. - Navigate to Plugin Installation.
Go to Plugins → Add New. - Search for Pro Mail SMTP.
In the search bar, type Pro Mail SMTP.
Click on the Install Now button next to the plugin, and then activate it once the installation is complete. Otherwise you can download the Pro Mail SMTP by clicking here. - Open Plugin Settings.
After activation, find Pro Mail SMTP in the left sidebar of your WordPress dashboard and click on it.
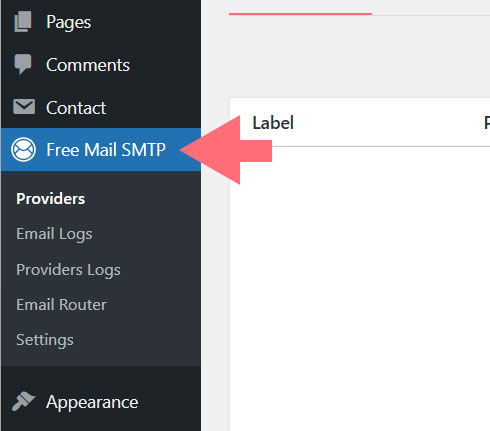
- Select Mailgun as Your SMTP Provider.
Click on the Add New button and choose Mailgun from the list of available SMTP providers.
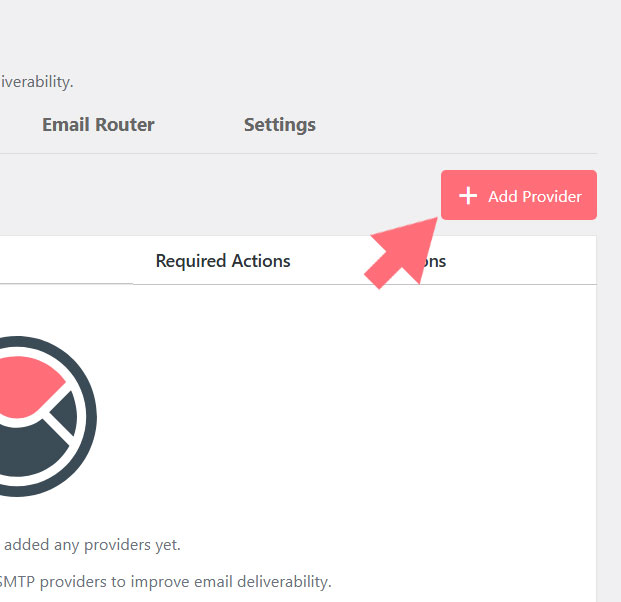
Generating Your Mailgun API Key
To successfully integrate Mailgun with Pro Mail SMTP, you will need to generate your Mailgun API key. This key allows Pro Mail SMTP to authenticate your email sending and ensure reliable delivery.
- Log in to Your Mailgun Account.
Access your Mailgun dashboard by logging in with your credentials. - Navigate to API Security.
Click on your profile icon or initials located in the upper right corner of the dashboard.
From the dropdown menu, select API Security.
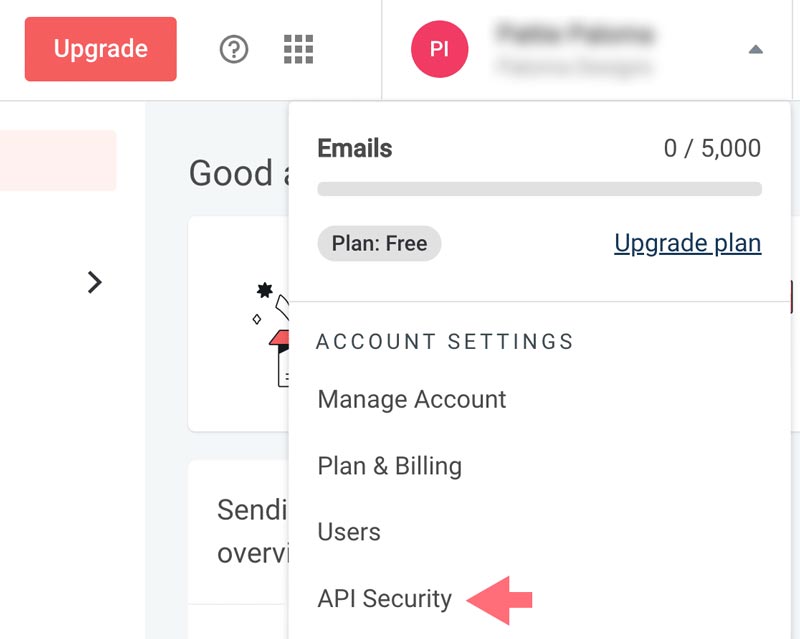
- Locate Your API Keys.
You will be directed to a page displaying your API keys. Here, you will find different keys including the Mailgun API Key, Verification Public Key, and HTTP Webhook Signing Key. We recommend using the Mailgun API key to set up Pro Mail SMTP.
- Create a New API Key (if needed).
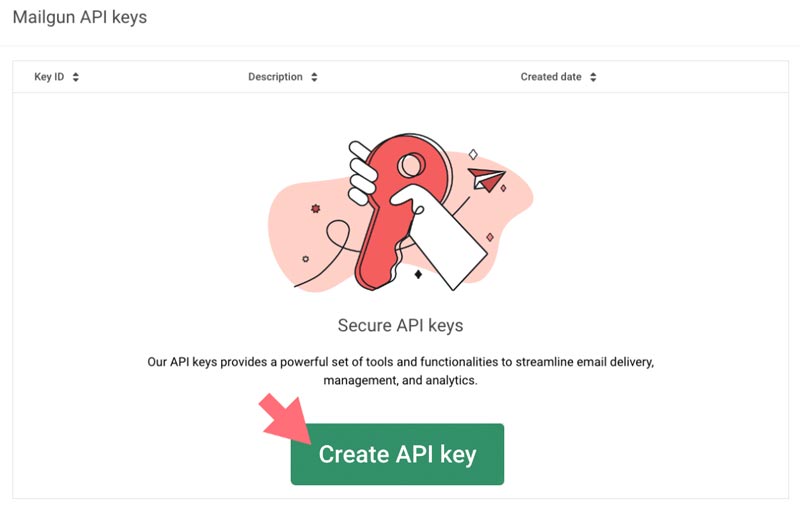
If you need to generate a new API key, scroll to Mailgun API keys and click on the Create API Key button.
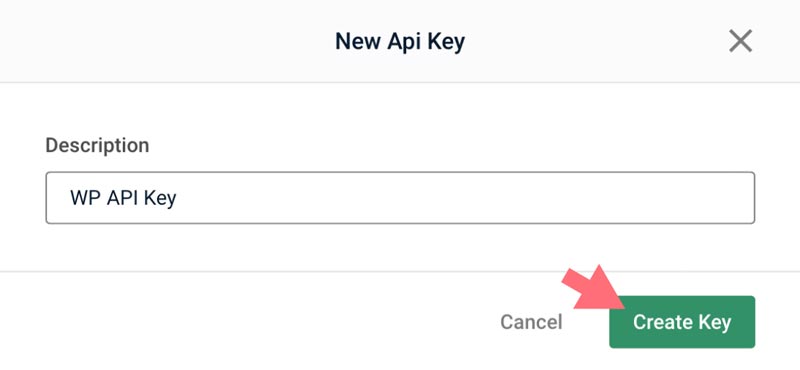
A prompt will appear allowing you to add a description for your new API key. Choose a descriptive name that will help you remember its purpose.
- Finalize the Creation.
Once you’ve added the description, click the Create Key button to generate the API key. - Copy Your API Key.
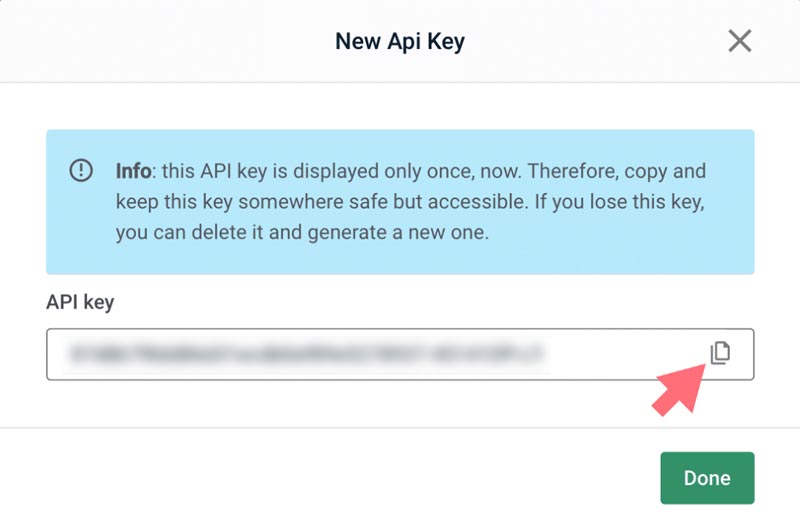
A modal will appear displaying your new API key. Make sure to copy this key and store it securely, as it will only be shown once. Use the copy icon for convenience.
💡Important Note
If your Mailgun account is older, you might see a prefix (e.g., key-) before your API key. Ensure you include this prefix when pasting it into Pro Mail SMTP settings, as omitting it can lead to verification issues.
Enter SMTP Configuration Details
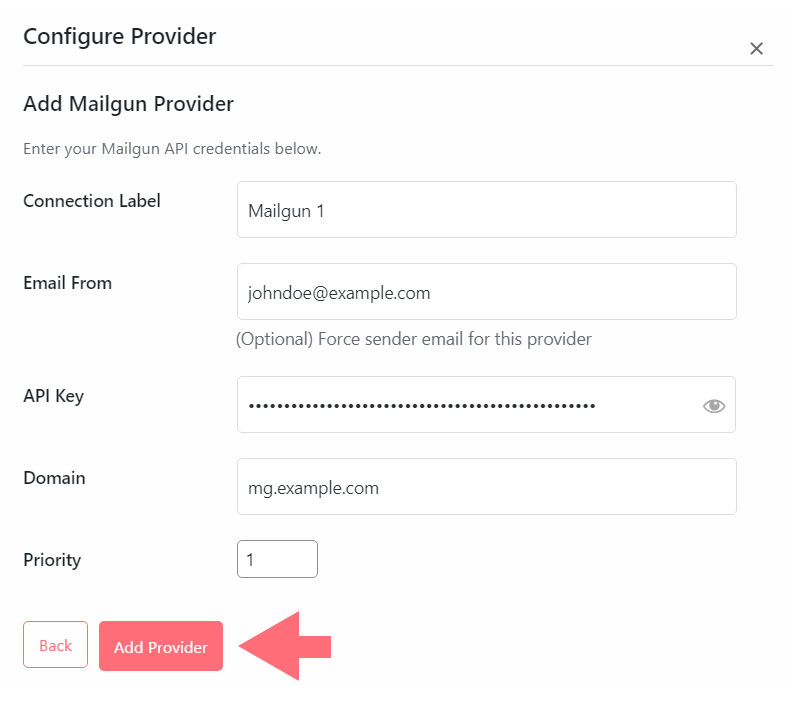
- Connection Label.
This field allows you to assign a unique name to this connection, making it easier to identify in the connections table. Choose a descriptive label that helps you differentiate this connection from others (e.g., Mailgun Connection). - Email From (optional).
In the From Email field, specify the email address you wish to use for sending emails (e.g., noreply@example.com). This email address can overwrite the global email settings for the selected provider.
💡Note
for best results, it is advisable to use a domain-specific email address (e.g., info@example.com) to enhance deliverability.
- API Key.
Paste the Mailgun API key that you copied in the previous step into this field. This key is essential for authenticating your connection with Mailgun. - Domain.
Enter the domain you verified with Mailgun (e.g., example.com or the subdomain you created, such as mg.example.com). - Priority.
This field is part of the fallback mechanism for your SMTP connections. Assign a unique priority number to this connection—lower numbers indicate higher priority. If the highest priority connection fails, the system will automatically use the next highest priority connection to send emails.
Step 6: Save Your Settings
Once you have completed all the fields, click the Save Settings button to store your configuration.
- Test Settings.
After saving your settings, look for the Test button within the Pro Mail SMTP Providers’ section.
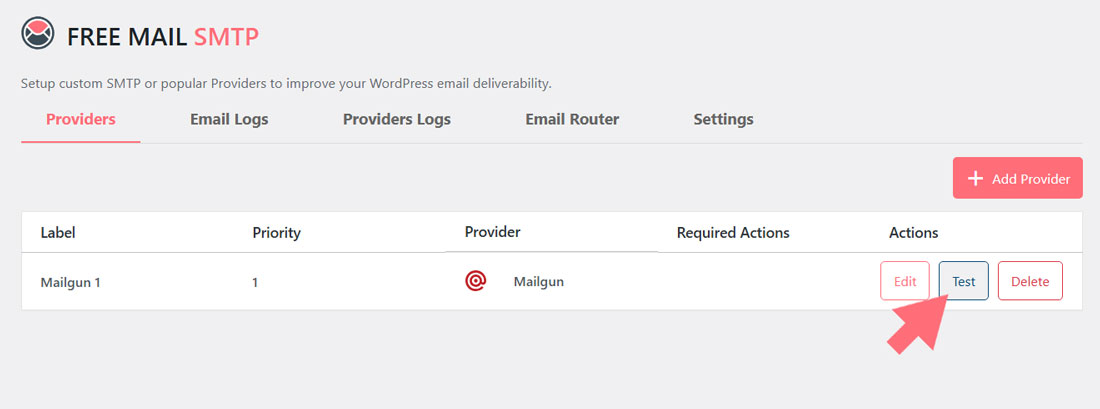
If the test is successful, your configuration is complete!
Frequently Asked Questions
What is Mailgun and how does it work?
Mailgun is a powerful email service provider that allows businesses to send, receive, and track emails using a secure API. It is designed for high deliverability and scalability, making it ideal for managing large volumes of email.
How do I create a Mailgun account?
To create a Mailgun account, visit the Mailgun website, click on the Start for Free button, and fill out the registration form. You will need to verify your email address and complete additional verification steps.
What are the benefits of using Mailgun with Pro Mail SMTP?
Integrating Mailgun with Pro Mail SMTP enhances your email deliverability, provides advanced analytics, and ensures reliable email sending, all while being easy to set up and manage.
How do I verify my domain in Mailgun?
After adding your domain to Mailgun, you will receive DNS records that need to be added to your domain’s DNS settings. Once the records are in place, you can verify your domain through the Mailgun dashboard.
What is the Mailgun API Key?
The Mailgun API Key is a unique identifier that allows you to authenticate and connect your application to Mailgun’s services. You will need this key to configure Pro Mail SMTP for sending emails.
Can I use a free Mailgun account?
Yes, Mailgun offers a free account that allows you to send up to 100 emails per day.
What email address should I use as the From Email?
It is recommended to use a domain-specific email address (e.g., info@example.com) as the From Email for better deliverability. Ensure that this address is associated with your verified Mailgun domain.
How do I test my Mailgun integration with Pro Mail SMTP?
After saving your settings, click the Test button in the Pro Mail SMTP Providers’ section. This will verify your configuration. If the test is successful, your integration is complete, and you’re ready to send emails through Mailgun.
What should I do if my emails are not being delivered?
If your emails are not being delivered, check your SMTP settings, ensure your domain is verified, and review any logs provided by Pro Mail SMTP for errors. You may also want to consult Mailgun’s support for assistance.
Is there support available for Mailgun integration?
Yes, both Pro Mail SMTP and Mailgun offer support resources. You can access documentation, tutorials, and customer support to help you with the integration and any issues you may encounter.